Multi Room Audio - part IV
30 Mar 2019The remaining work for this project consisted largely of trying to decide where to locate the unit with my rack of RasPis and how to gracefully manage the cables for power, network and speakers.
I’m fortunate that the house we currently live in has basement areas (ranging from “big enough to walk in” at the rear of the property to “can crawl on hands and knees through dirt” at the front as we’re on quite a slope front to back). That means I can more easily make cables disappear into floors in one part of the house and surface through a different floor in another room. Handy, because the obvious solution to all of this (WiFi / Bluetooth connectivity) is a problem when it comes to my goal of lag free sync’d up players. The variance across the air gaps is just noticeable - I do have one software player running on an old smart phone that will use this method, so I know. But that player is likely to be mostly used in the garden and not sync’d to others close enough to notice the lag.
My first idea of putting the PC case under the TV alongside the Sky box fell flat immediately, it was too big to fit neatly and would have looked stupid. But I had options. In the play room - named when the kids were young and we had all their toys and crayon art in there, but now home to a sofa and a PS4 - there’s a large walk-in storage cupboard which seemed a good place for it to be. It has power points and I could cut holes in floors more easily without anyone complaining.
Speaker Cable and HDMI
But because I was now locating the case quite a way from the TV soundbar, I had to get the HDMI signal over a longer distance. This was problematic because the cables are quite thick (bigger holes in floors) and it’s apparently not recommended to use longer than 15m cables. I would be right on that limit given the extra required for diving into the basement and back up again.
Well, I already had networking behind the TV in the form of both power line adapters and WiFi extender, so unplugging the TV from the adapter and making it use WiFi would leave a network port free. If I replaced the power bar with one that had USB outputs I could also power a standalone Pi. So that was solved - I removed the Pi without the DigiAmp+ from the rack in the PC case and housed it in a spare standard Pi case instead. Power and network sorted, I could just put it next to the Sky box and run a short HDMI cable up into the sound bar. Perfect.
OK, lounge player done, back to the play room cupboard to cut a hole in the corner of the floor, screw a 47mm deep back box over it, use some duck tape to protect cables as they’re being passed through and we’re away.
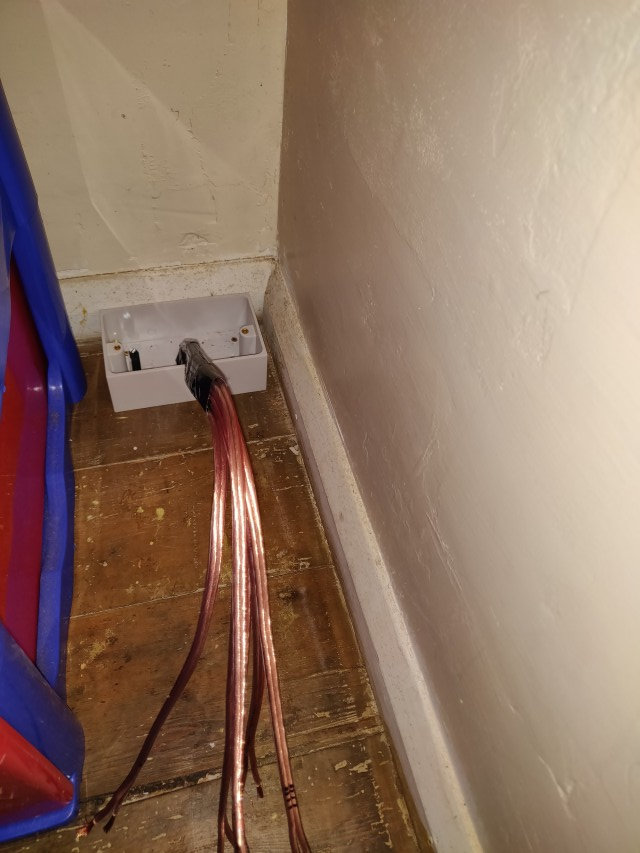
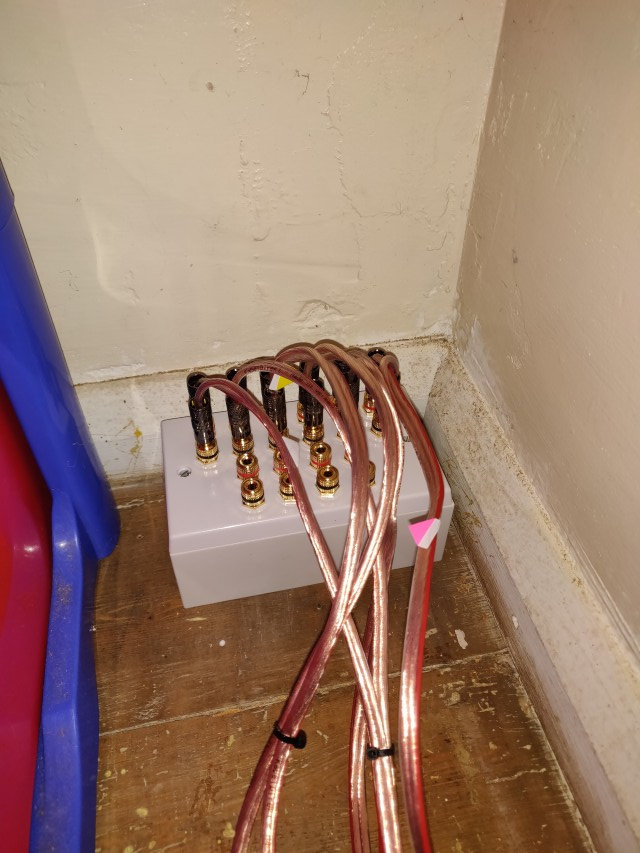
Reason for the back box is that I had bought one of these pretty looking things to be able to plug cables from the PC case into using standard audio banana plugs.
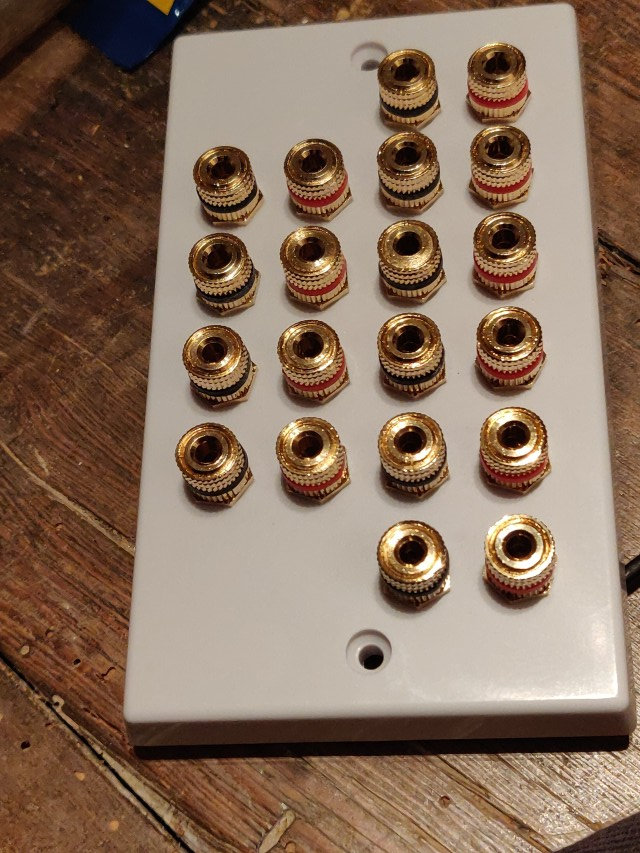
Stripped cables attach into the back..
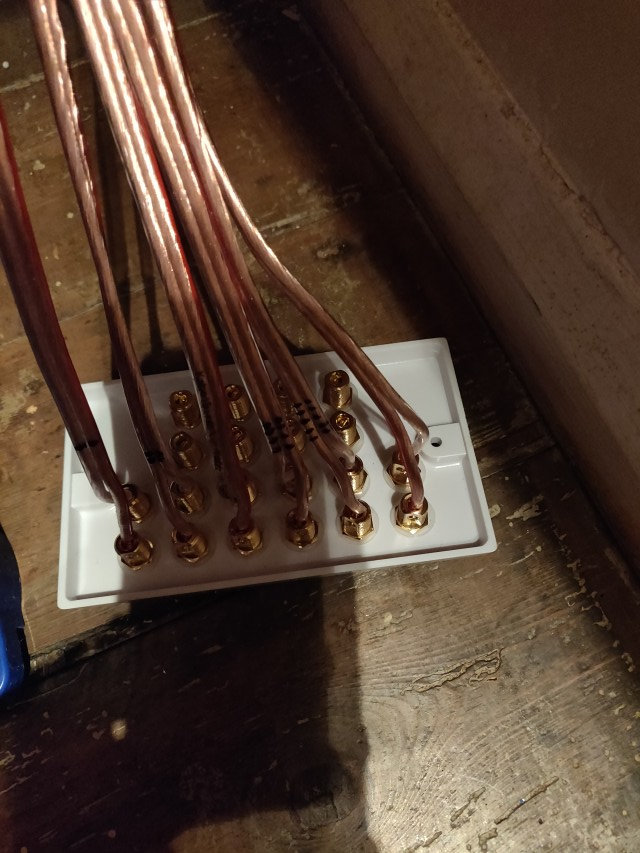
.. and it’s nice and neat ready for the PC case with the short cables attached from the DigiAmp+ units and the banana plugs.
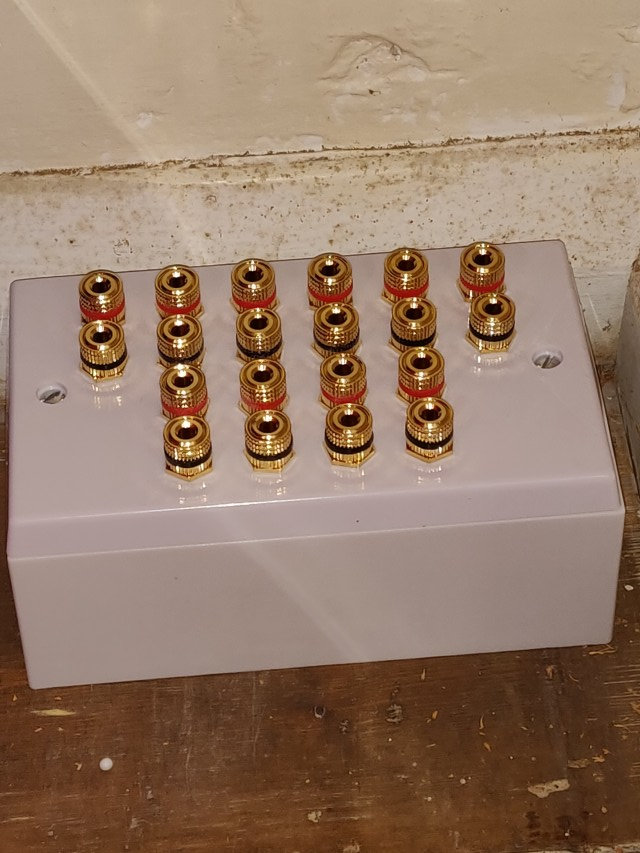
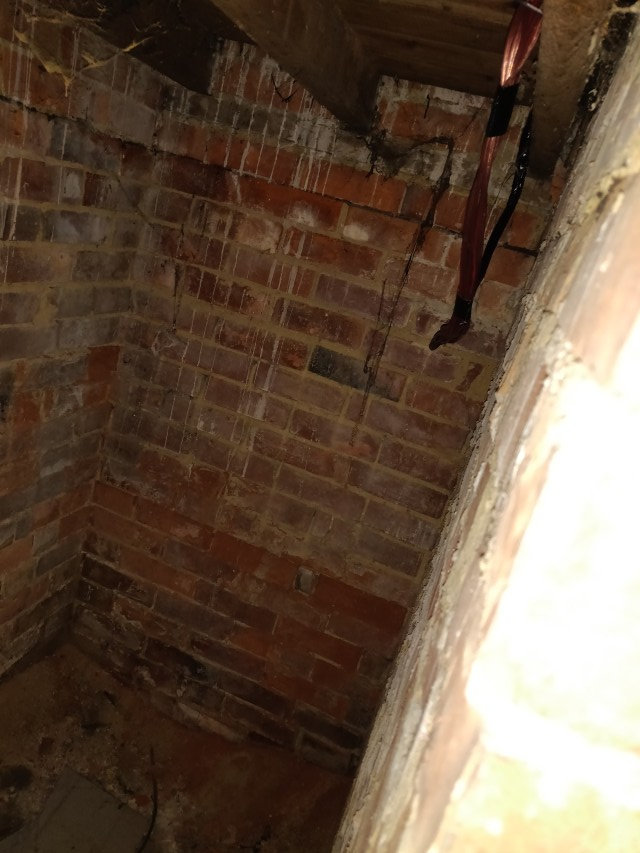
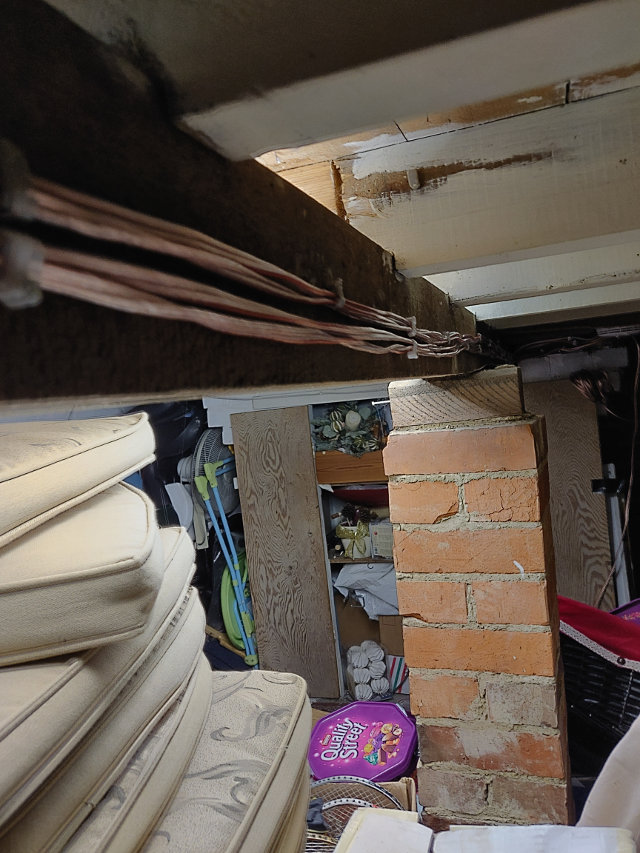
The view from the underside in the basement showing the fed through trunk of cables looping down before coming up to be held against the joists with some ad hoc “cable supports”, or nails.
So now, with normal cable clips I could run the various speaker cables to the underside of where I needed them to come up into the three rooms that would initially have the passive speakers, the play room itself, the kitchen and the dining room. It was a long and tiring job because of the awkward spaces - especially the dining room which is at the front of the house and needed a lot of crawling around through dirt and cable clipping by torch light.
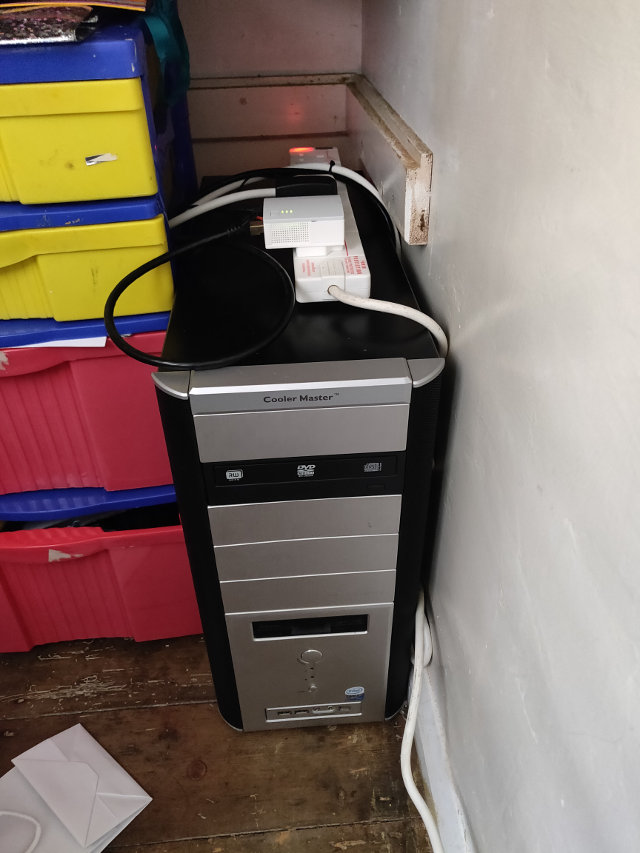
The main case is now in place in the cupboard with the network supply to the ethernet switch inside via a spare power line adapter plug that I had. This gives me the three rooms with passive speakers, plus the lounge player connecting to the TV sound bar making four.
Software Players
There were two more players still to add to the system but neither needed a Pi nor a DigiAmp+. One is in the home office where most of my computing equipment is and where I spend a fair amount of my time and therefore listen to most of my music. This room didn’t need hardware players as the PC can connect to powered speakers. I just had to install squeezelite on the PC (actually I installed a modified version that works with the PulseAudio sound server rather than the default version that wants to own the ALSA devices).
The final player was another software based one, but this time I was using an old phone of mine which I’d rooted and installed Lineage OS on - which is a great project (the successor to CyanogenMod that I also used to use) and supports dozens of phones long after the manufacturers and Google have lost interest in them. The player software is unfortunately not free, but I couldn’t find a FOSS one so I bought that. This means I can use the phone as a mobile player with the idea of connecting it to a bluetooth speaker, primarily for use in the garden. Because of that primary use case, I’m not too worried that it won’t sync perfectly with other rooms as it’s most likely to be used standalone.
Control Software
Final piece to cover is the command and control software.. the app that communicates with the SqueezeBox server and determines which music or streams to play on which players.
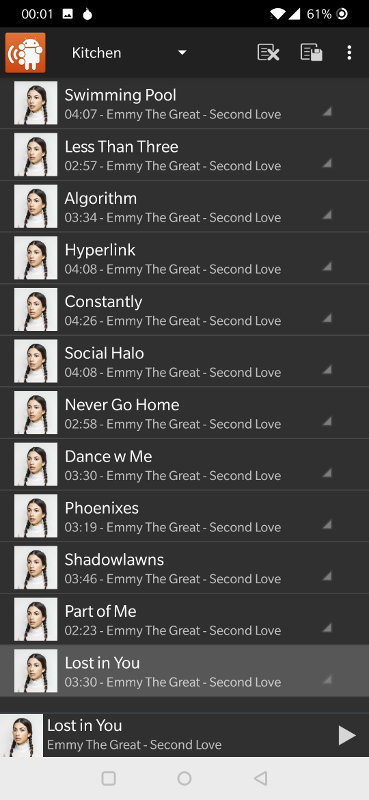
Squeezer is what we have on our phones - and installed on the “Remote/Garden” player too, so that has dual function. It’s an old Android app, but it’s free and does the job for now. There are a couple of paid-for options too but I didn’t bother with them. Below, Emma is playing in the kitchen :)

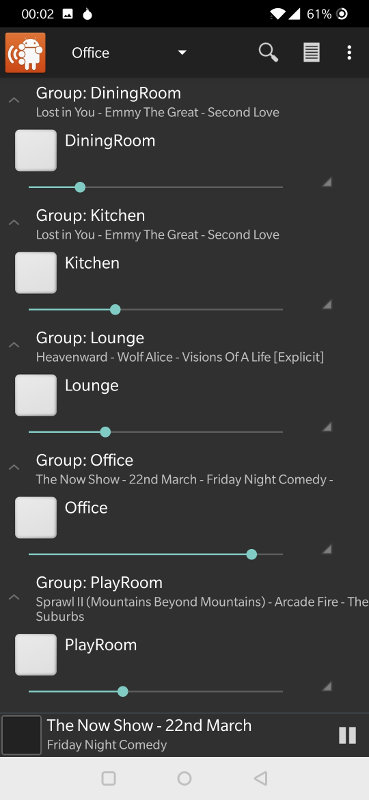
In the player menu, all of the connected players can be viewed and controlled. It shows what each is (or was last) playing.
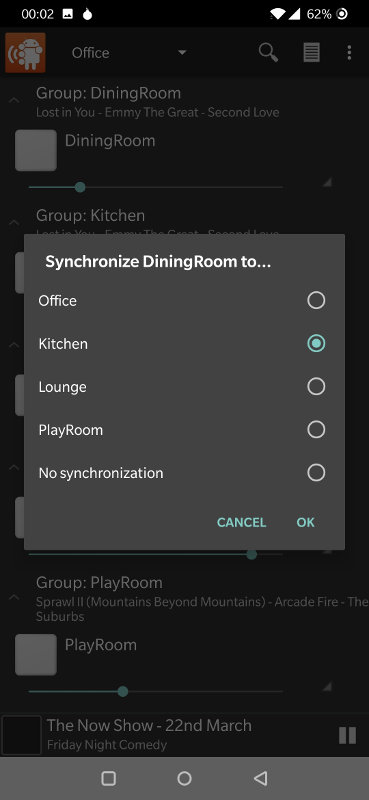
Here, I’m grouping a couple of players together to get Emma in the dining room as well as the kitchen

And that’s it, I have a fantastic multi-room system that I can listen to music or radio on. How did I do against my original project goals?
- Re-purpose as much as I could of existing gear that we already owned… Pretty good! Used both pairs of passive speakers and the sound bar, re-purposed an old PC case, a network switch and a mobile phone, used an existing Pi and existing power line adapter plugs.
- play different music in each location, OR synchronise any or all of the locations Yes, thanks to LMS and the SqueezeBox family. This was the reason for choosing it.
- Control all of it from any of our phones Yes, the android app works well enough, if lacking polish.
- Make it expandable for future room additions Definitely; room for expansion with a couple of passive speaker setups from the main PC case. But also unlimited expansion with players located with the speakers if I want to use WiFi rather than wired.
- Do it all at a fraction of the cost of Sonos I bought a transformer (£17), 4 additional Pis (£132), 3 DigiAmp+ (£162), 5 storage cards (£25), a pair of speakers (£98), 100m speaker wire (£62), 10.0 audio plate (£30) and a few cables and sundries (£25). Total: £551. To do similar with Sonos in that number of rooms.. somewhere north of £2000.
Overall, a success and I had a lot of fun doing it too which is the main thing. Hope the write-up has maybe given you some ideas about creating one of your own.